
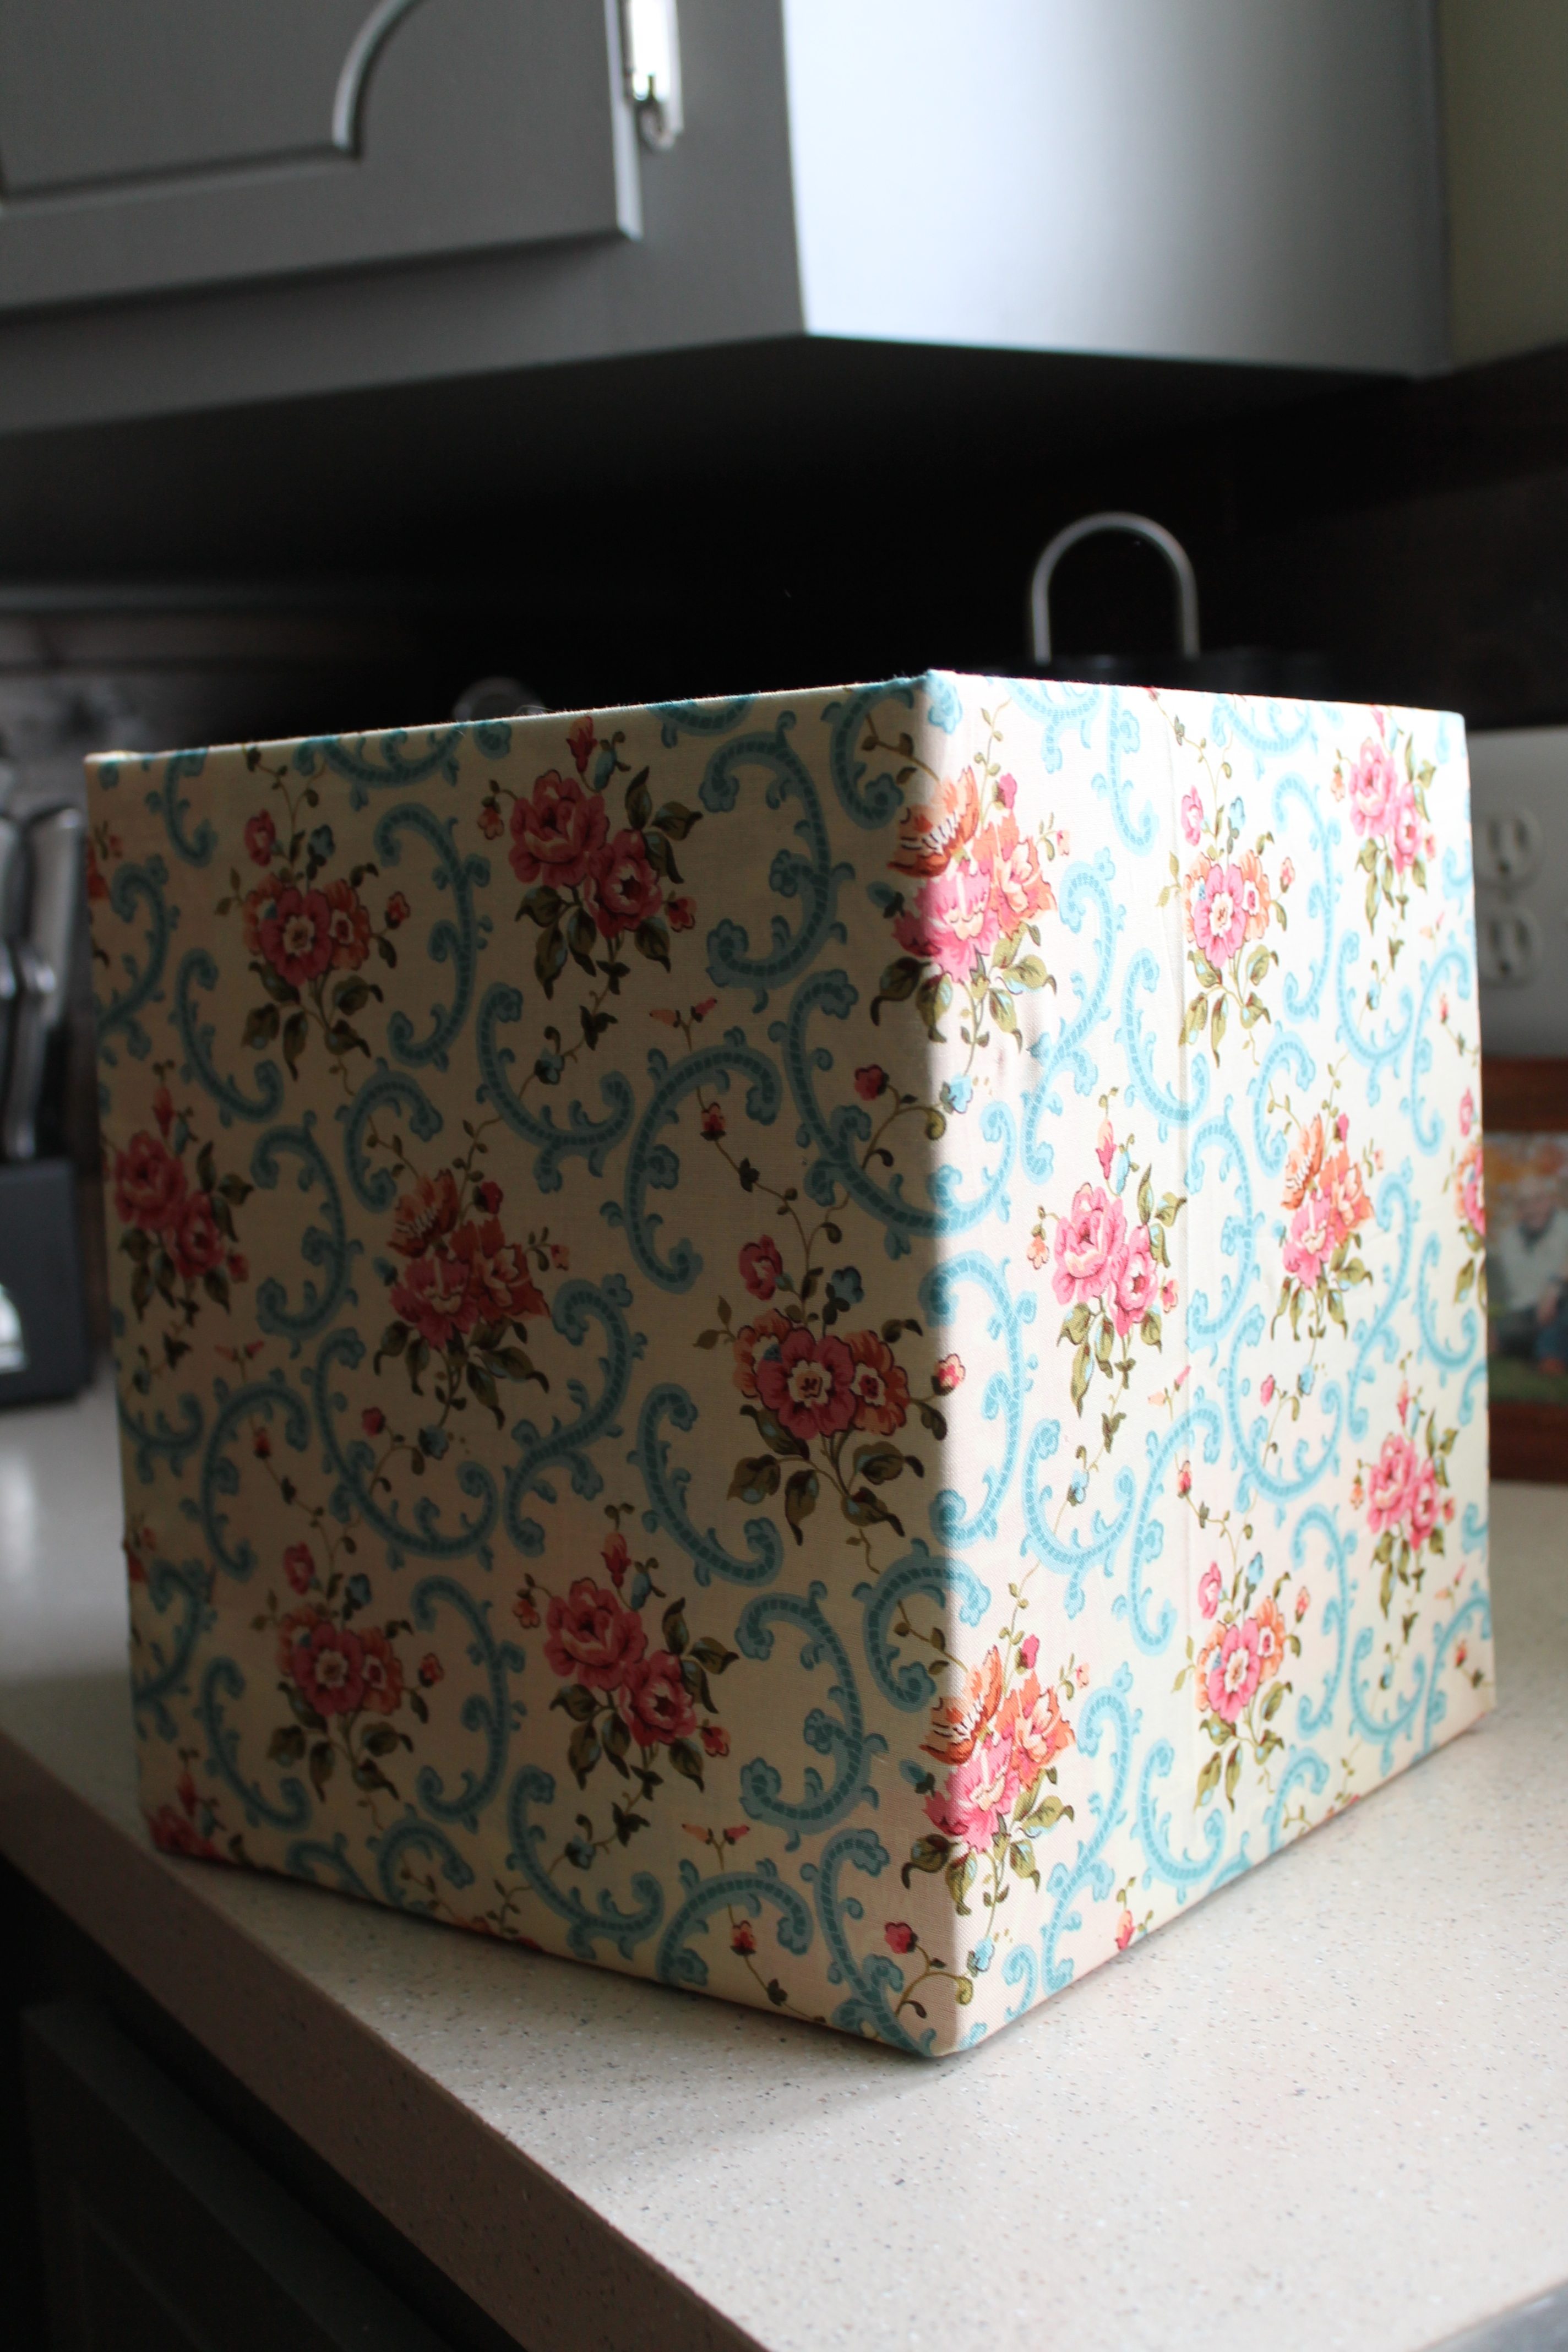
Today’s DIY is all about simple solutions to creative storage! When creating my Craft Room this past spring, I knew I needed to find additional storage solutions for some of my miscellaneous materials. With a limited budget and a lot of boxes, I came to the crafty conclusion that I needed to find a frugal solution. I decided to once again utilize some of my fabric scraps to create a project that could both match the current decor and get rid of some materials I already had lying around. With that, I bring you: Fabric Covered Boxes – A Simple DIY!
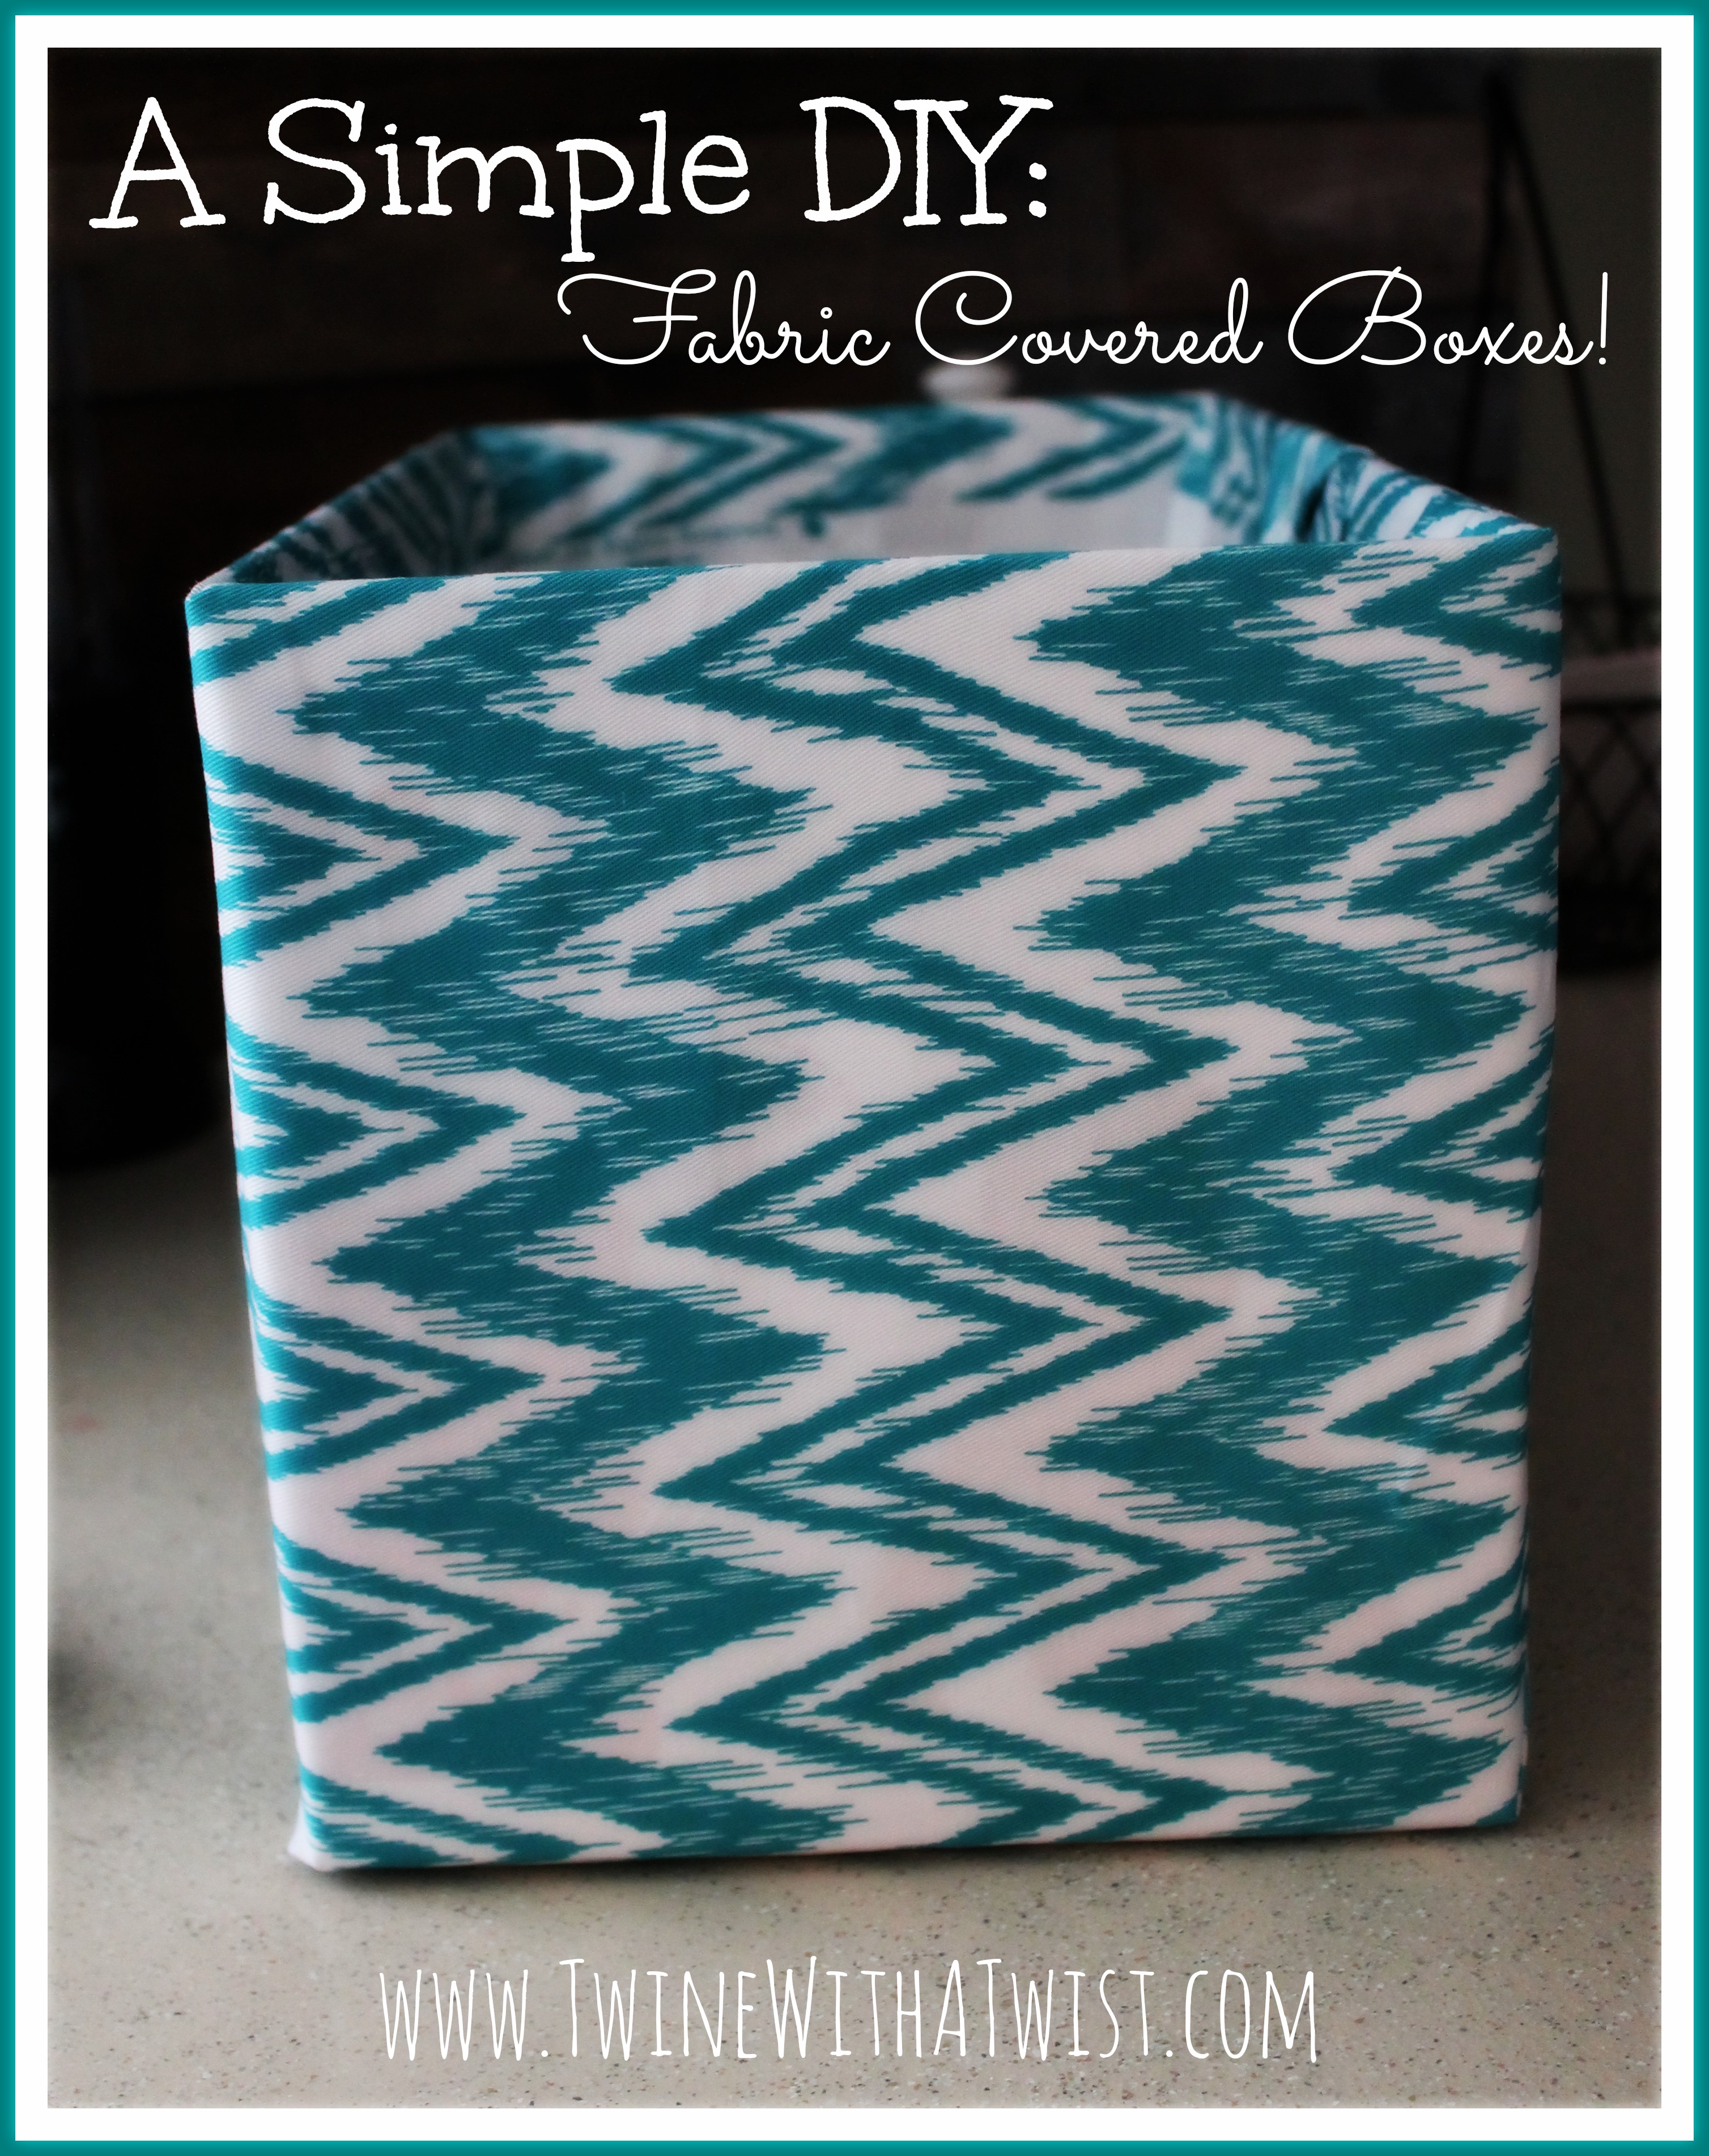
When it came to this project, I was a last-minute idea that I opted for as the solution was something I could easily put together with supplies just lying around. I had a variety of boxes just scattered about our garage that I would have otherwise tossed in the trash if not for this last minute idea. I have always adored the little fabric boxes at the craft stores but don’t want to shell out $15 and up per box. While our craft room is mainly Ikea shelving, we knew that the $13.00 boxes they sell in store were cute, but financially NOT an option. I could never spend that much! With that I found an alternative to each cube. . . but I still needed more room! That’s where the fabric and old boxes comes in. . . .
For supplies, lets keep is short and simple:
- Cardboard Box(es) – Any Size
- Fabric – Enough to wrap the outside of your box with about an inch of additional overhang.
- Staple Gun
- Staples
When deciding on this project, I went with staples. I just LOVE my staple gun because it’s quick and efficient. After creating this post I have since discovered that some people opted for glue. This is totally up to you and I will not pretend that everyone has a staple gun. (Technically I don’t even have one, it’s my father in-law’s gun but I’ve had it over a year and I’m pretty sure he’s since forgotten. #ThanksPat). I also realize that a lot of people have covered boxes with lids, I however did not. I didn’t have any boxes lying around with lids at the time and didn’t require them for this project. If you would like to cover the lid in fabric the directions would be exactly the same. If you do, I would love to see the results!!
So on to the Directions:
Step one: Find some cardboard boxes!


I decided on a Meijer diaper box and a Costco Waffle Box. #TheInnerWorkingsOfMyWorld. Both were empty and ready for trash day, until I came to the rescue!
Step Two: Find Your Fabric.

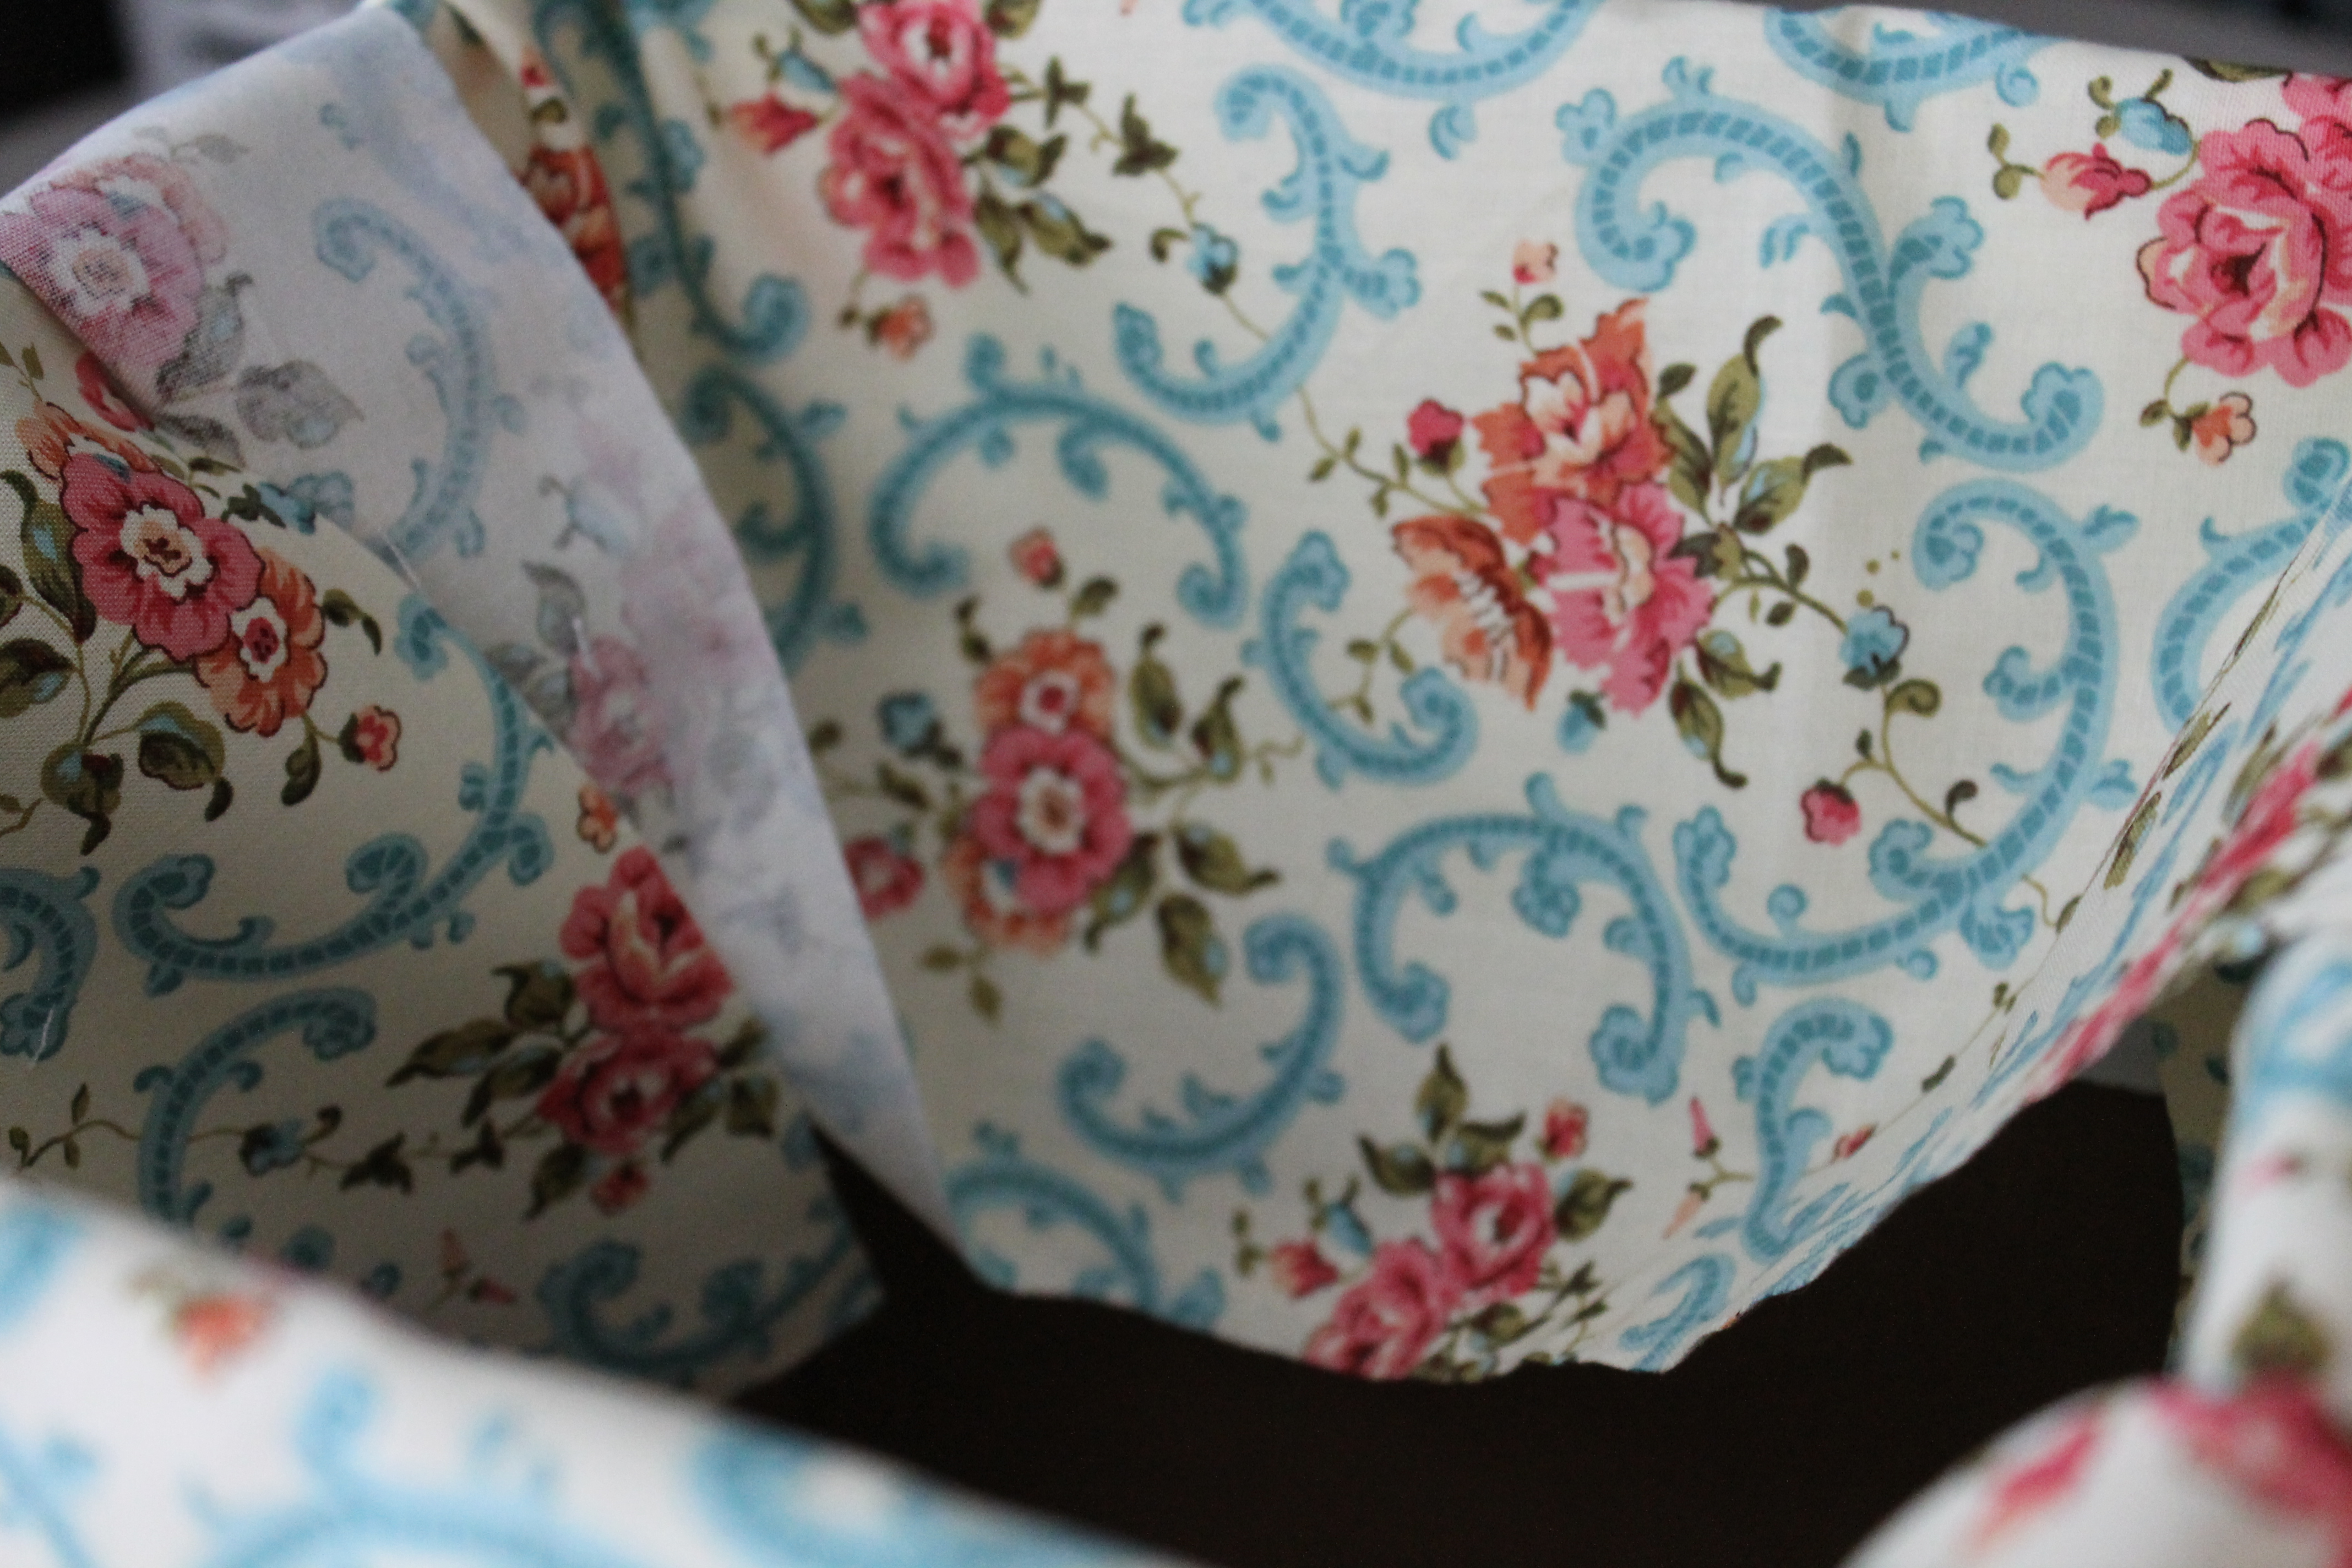
I always opt for the fabrics that I have lying around. If you’re anything like me, you probably have plenty of random scraps in a variety of size. If not, this project utilized less than a yard of fabric for both boxes. I decided on two different fabrics as they provided the most room for error along with some fun colors !
Step Three: Grab Your Staple Gun & Load With Staples!

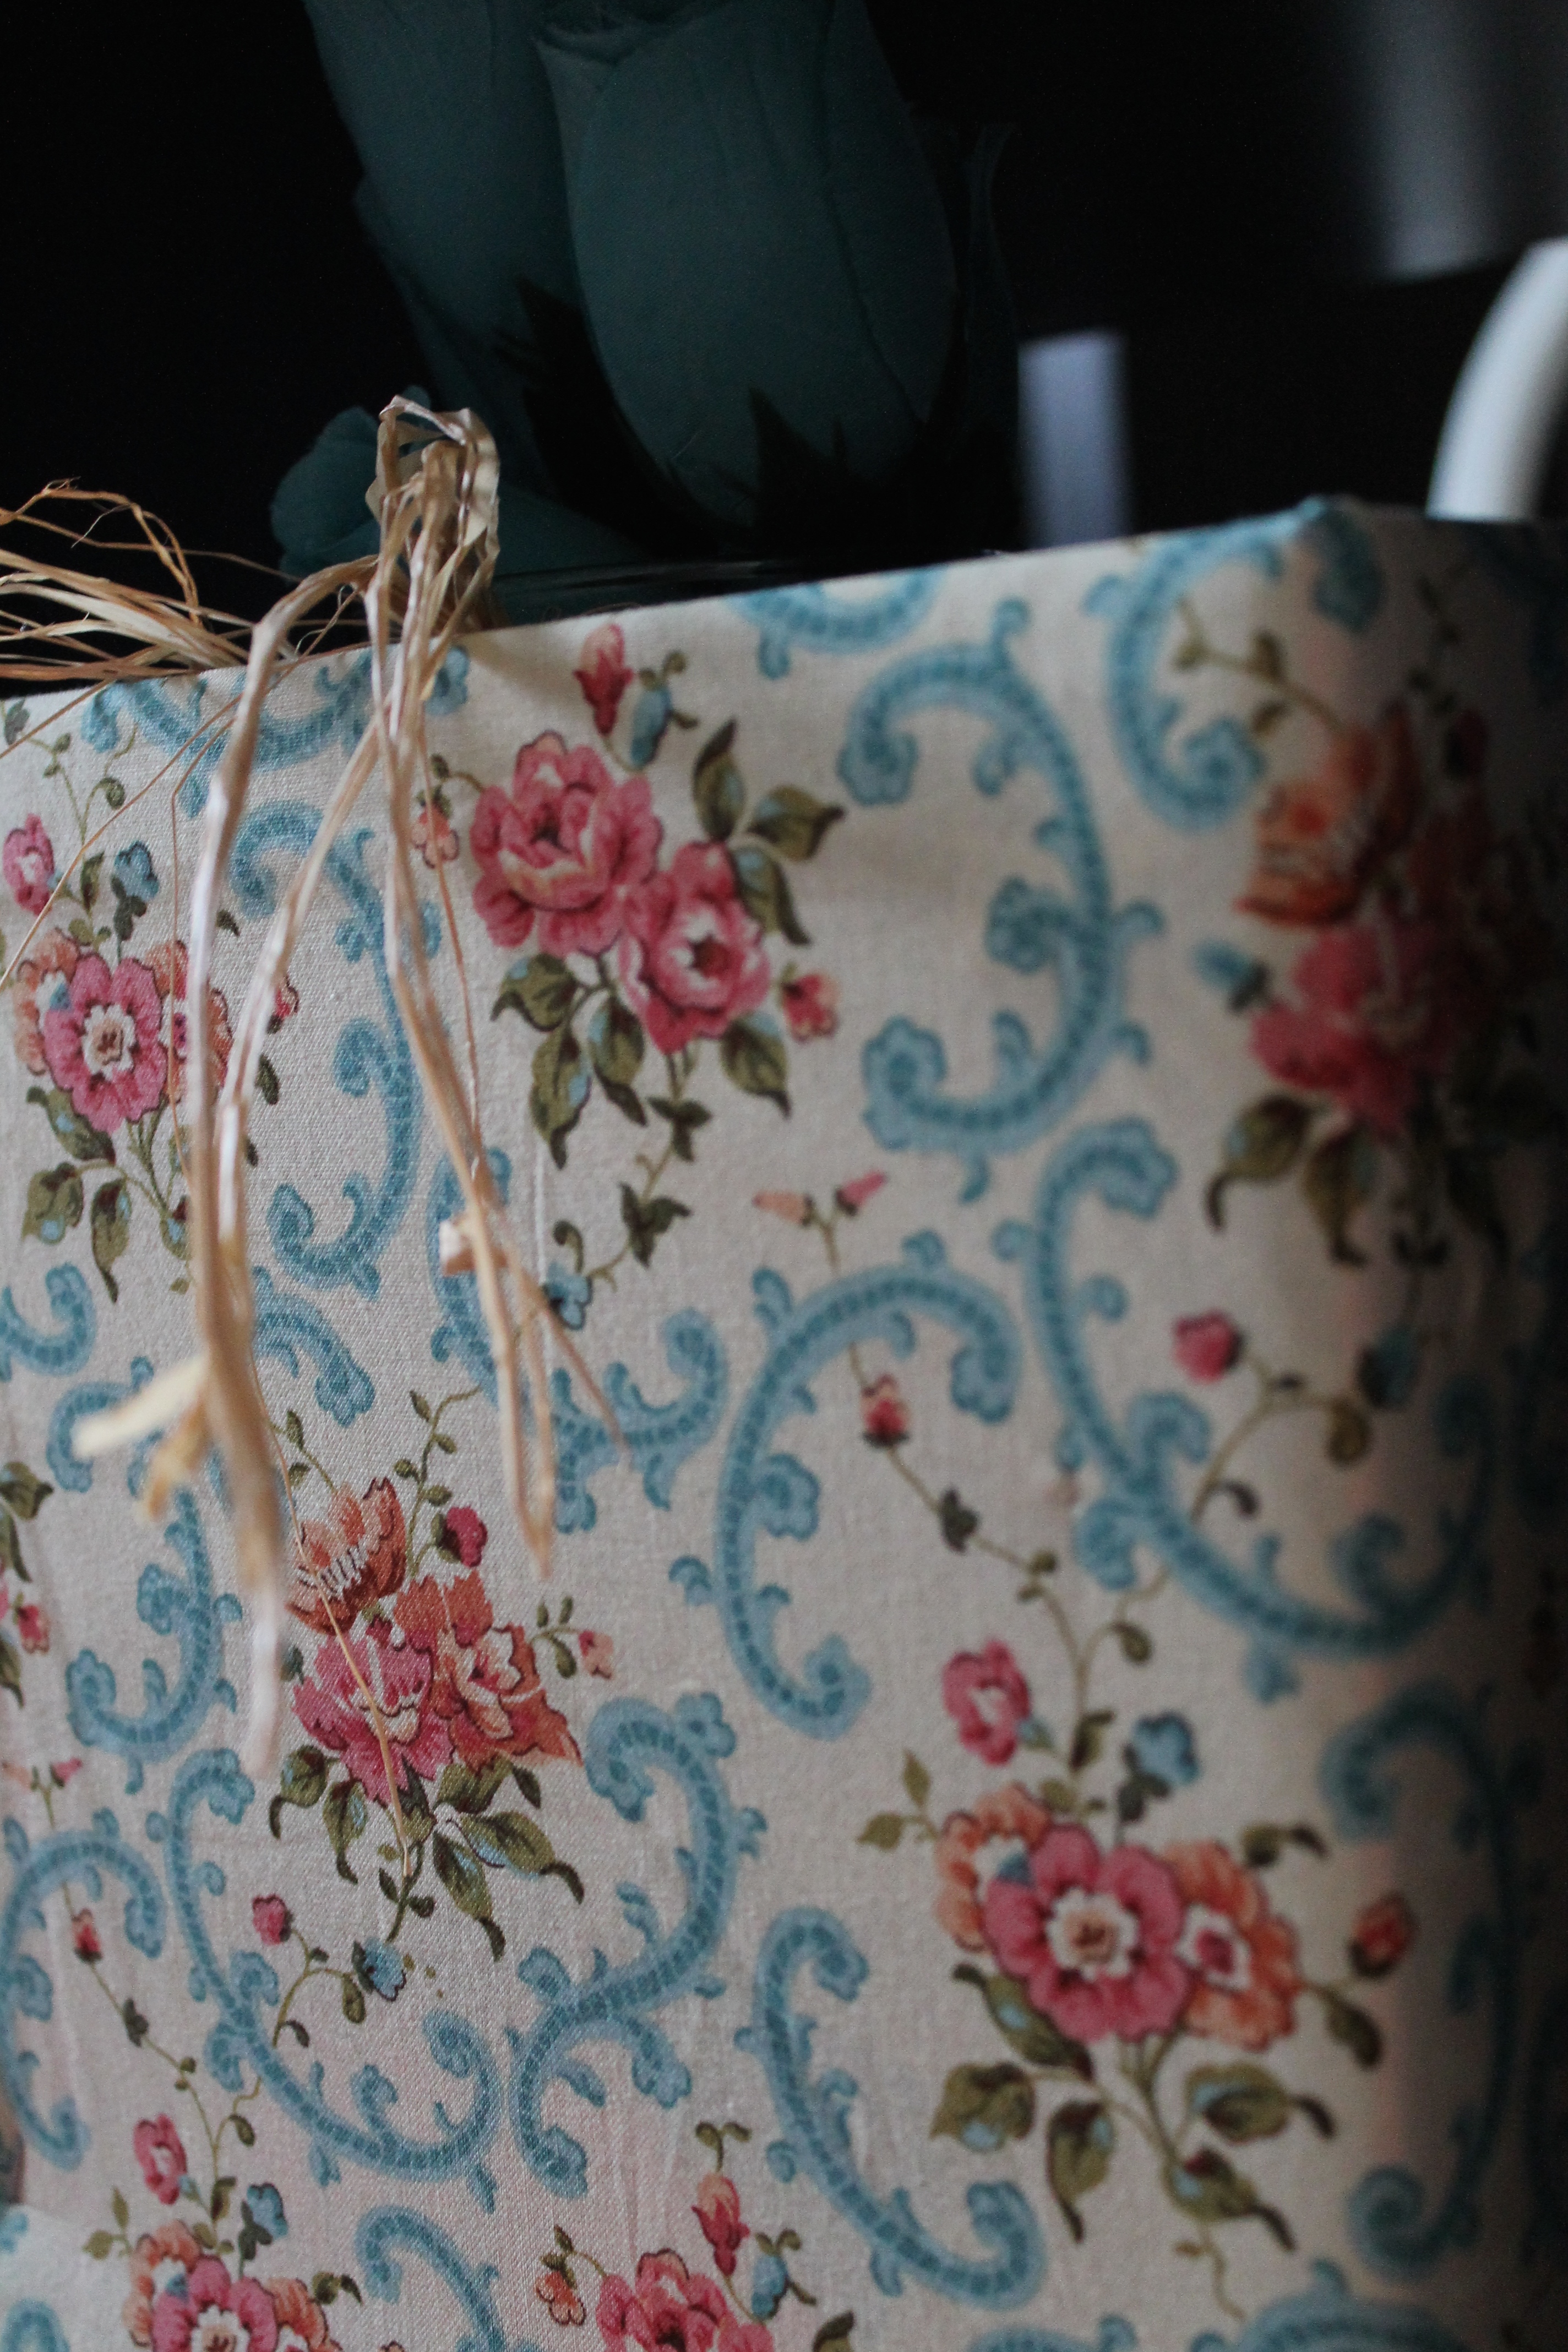
Step Four: Iron Your Fabric!! – This is a step that I forgot and couldn’t have been more annoyed! Once I wrapped my boxes, stapled and stuffed with goodies – I realized that one of the boxes had a big fat crease (or three) in the fabric. #mortifying. As I’m completely lazy and slightly laid back, I just left it. . . but if I had the chance to do it again, I would have made the extra effort.

Step Five: Lay your box – open end up – directly in the middle of your fabric. Fold each side of the fabric up so that it covers each side of the box and then fold the additional 1 inch overlay over the inside edge of your box. I wrapped my box as if I was wrapping a present and wanted to keep the fold to accent the pattern. If you’re looking to have no folds showing, fold each corner at a 45 degree angle and cut off the additional fabric before you overlay your edges. Regardless of your folds, make sure the fabric is tightly wrapped.

Step Six: Start Stapling!
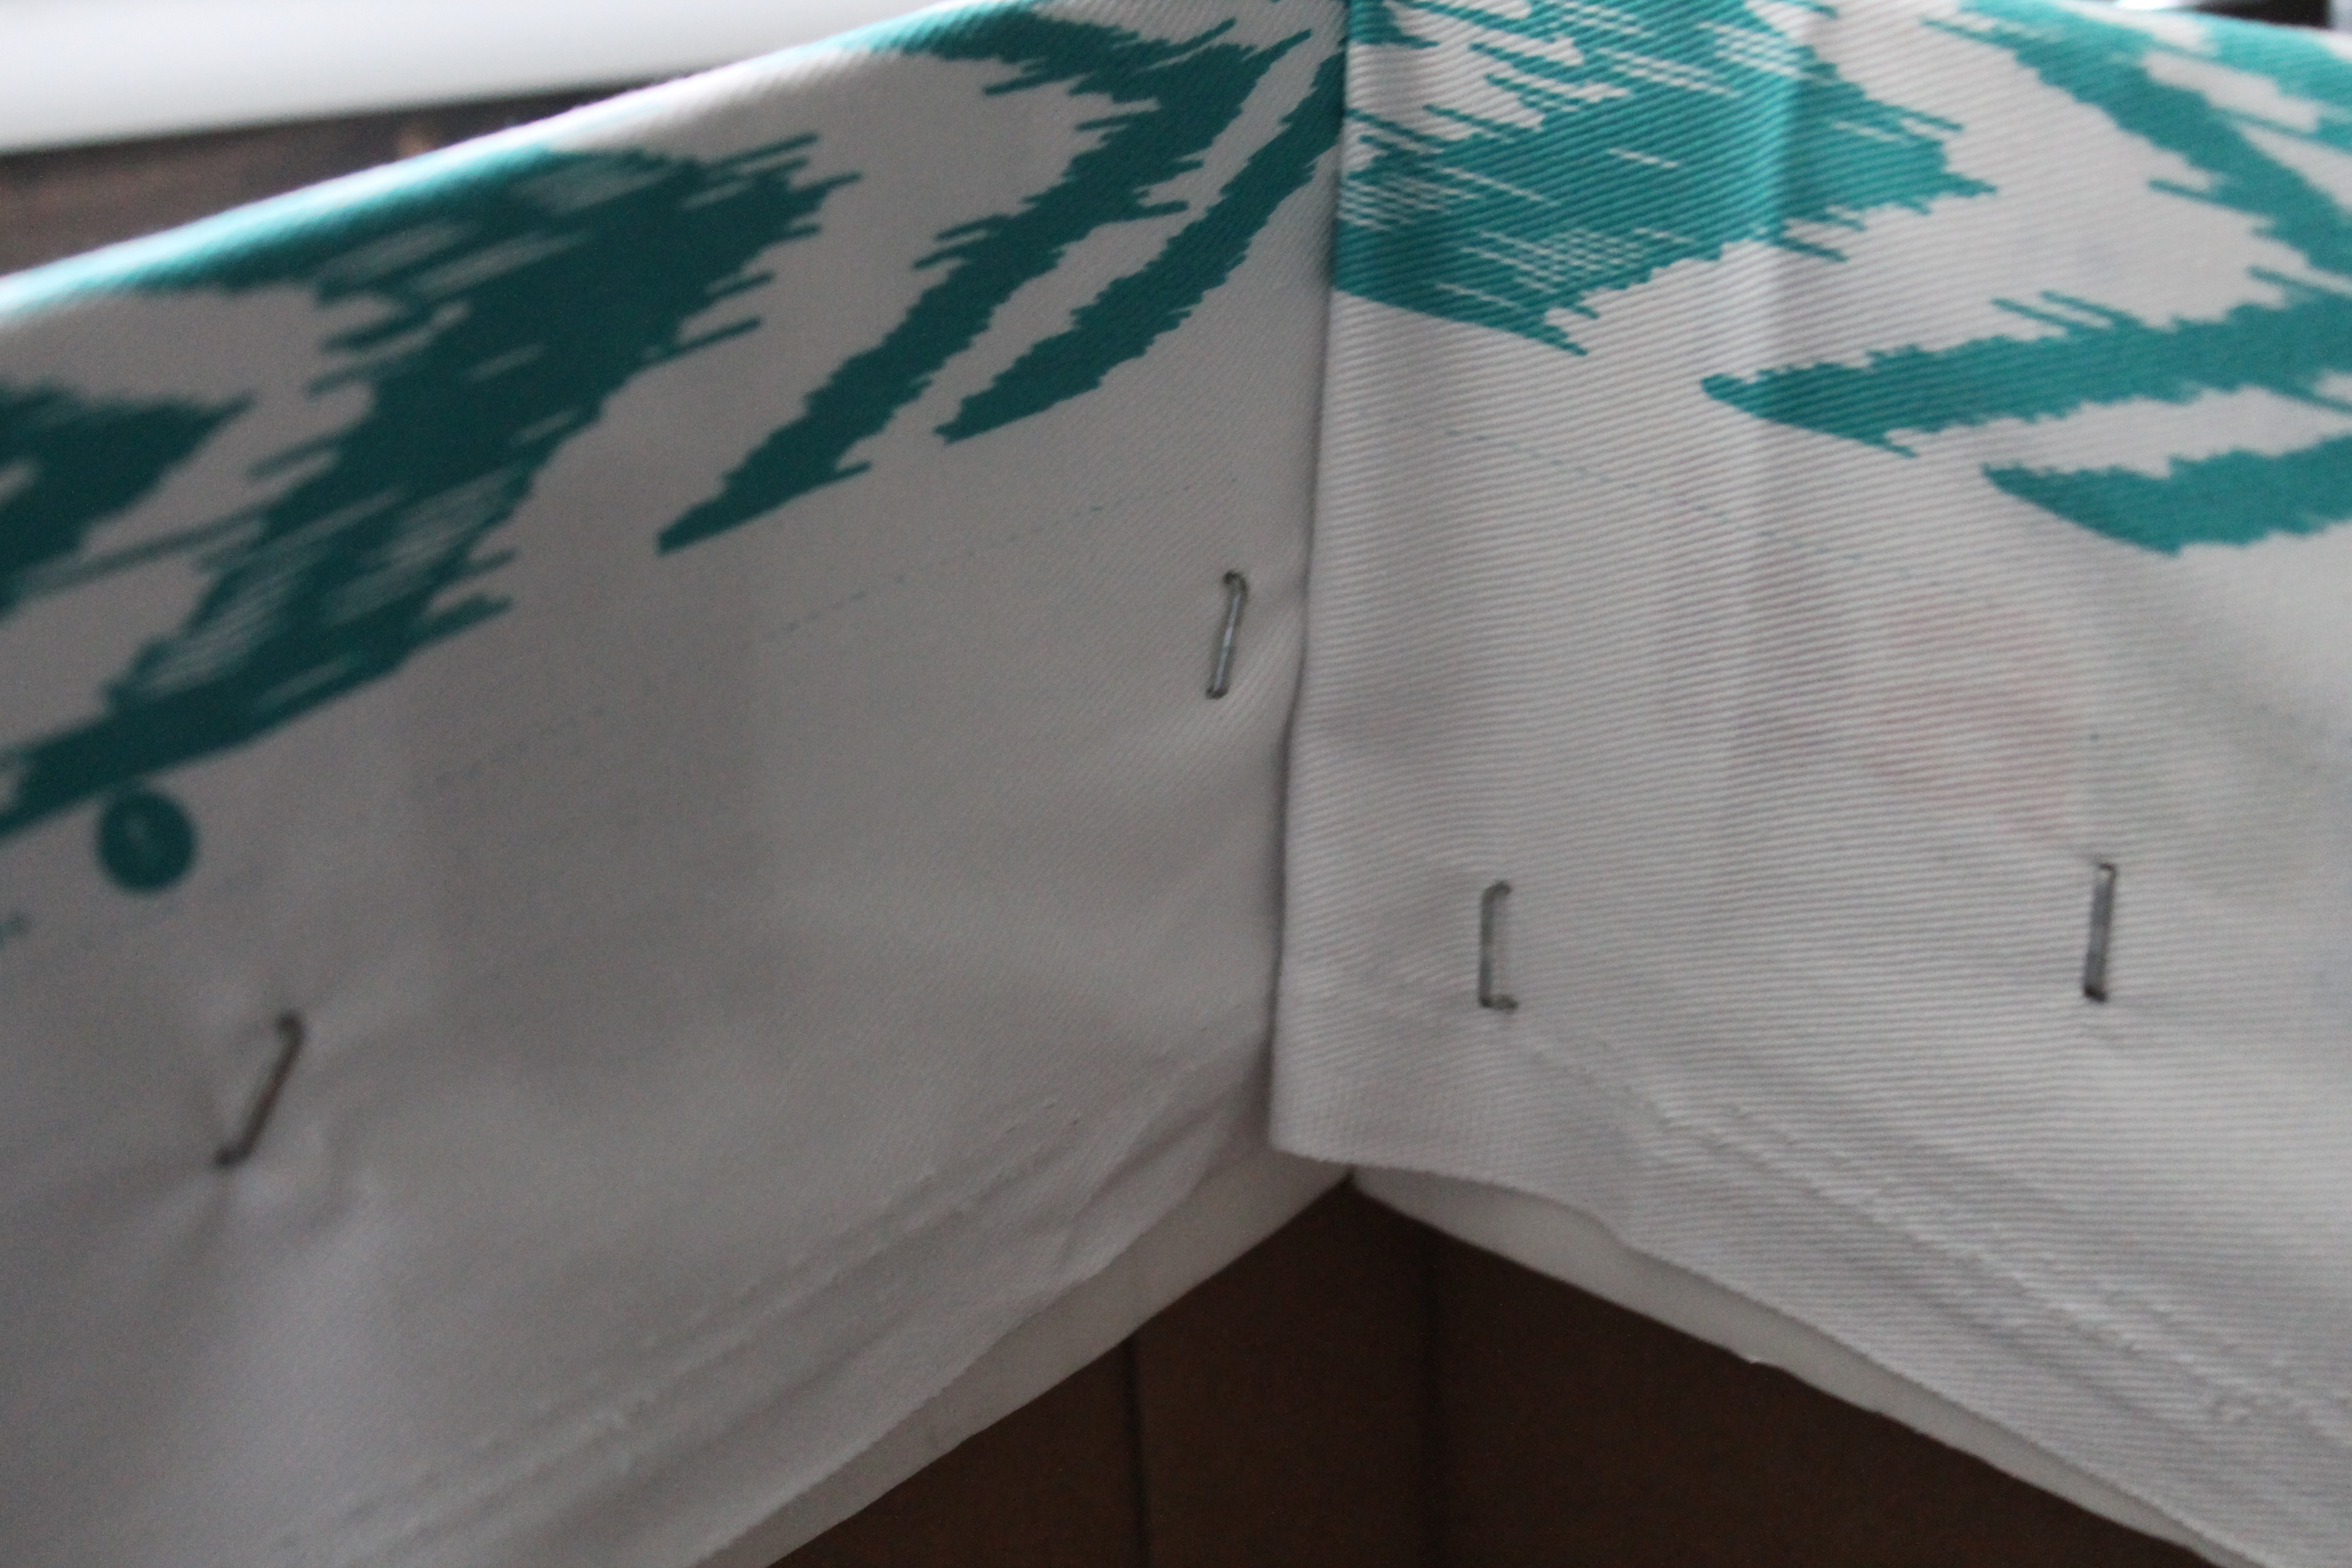
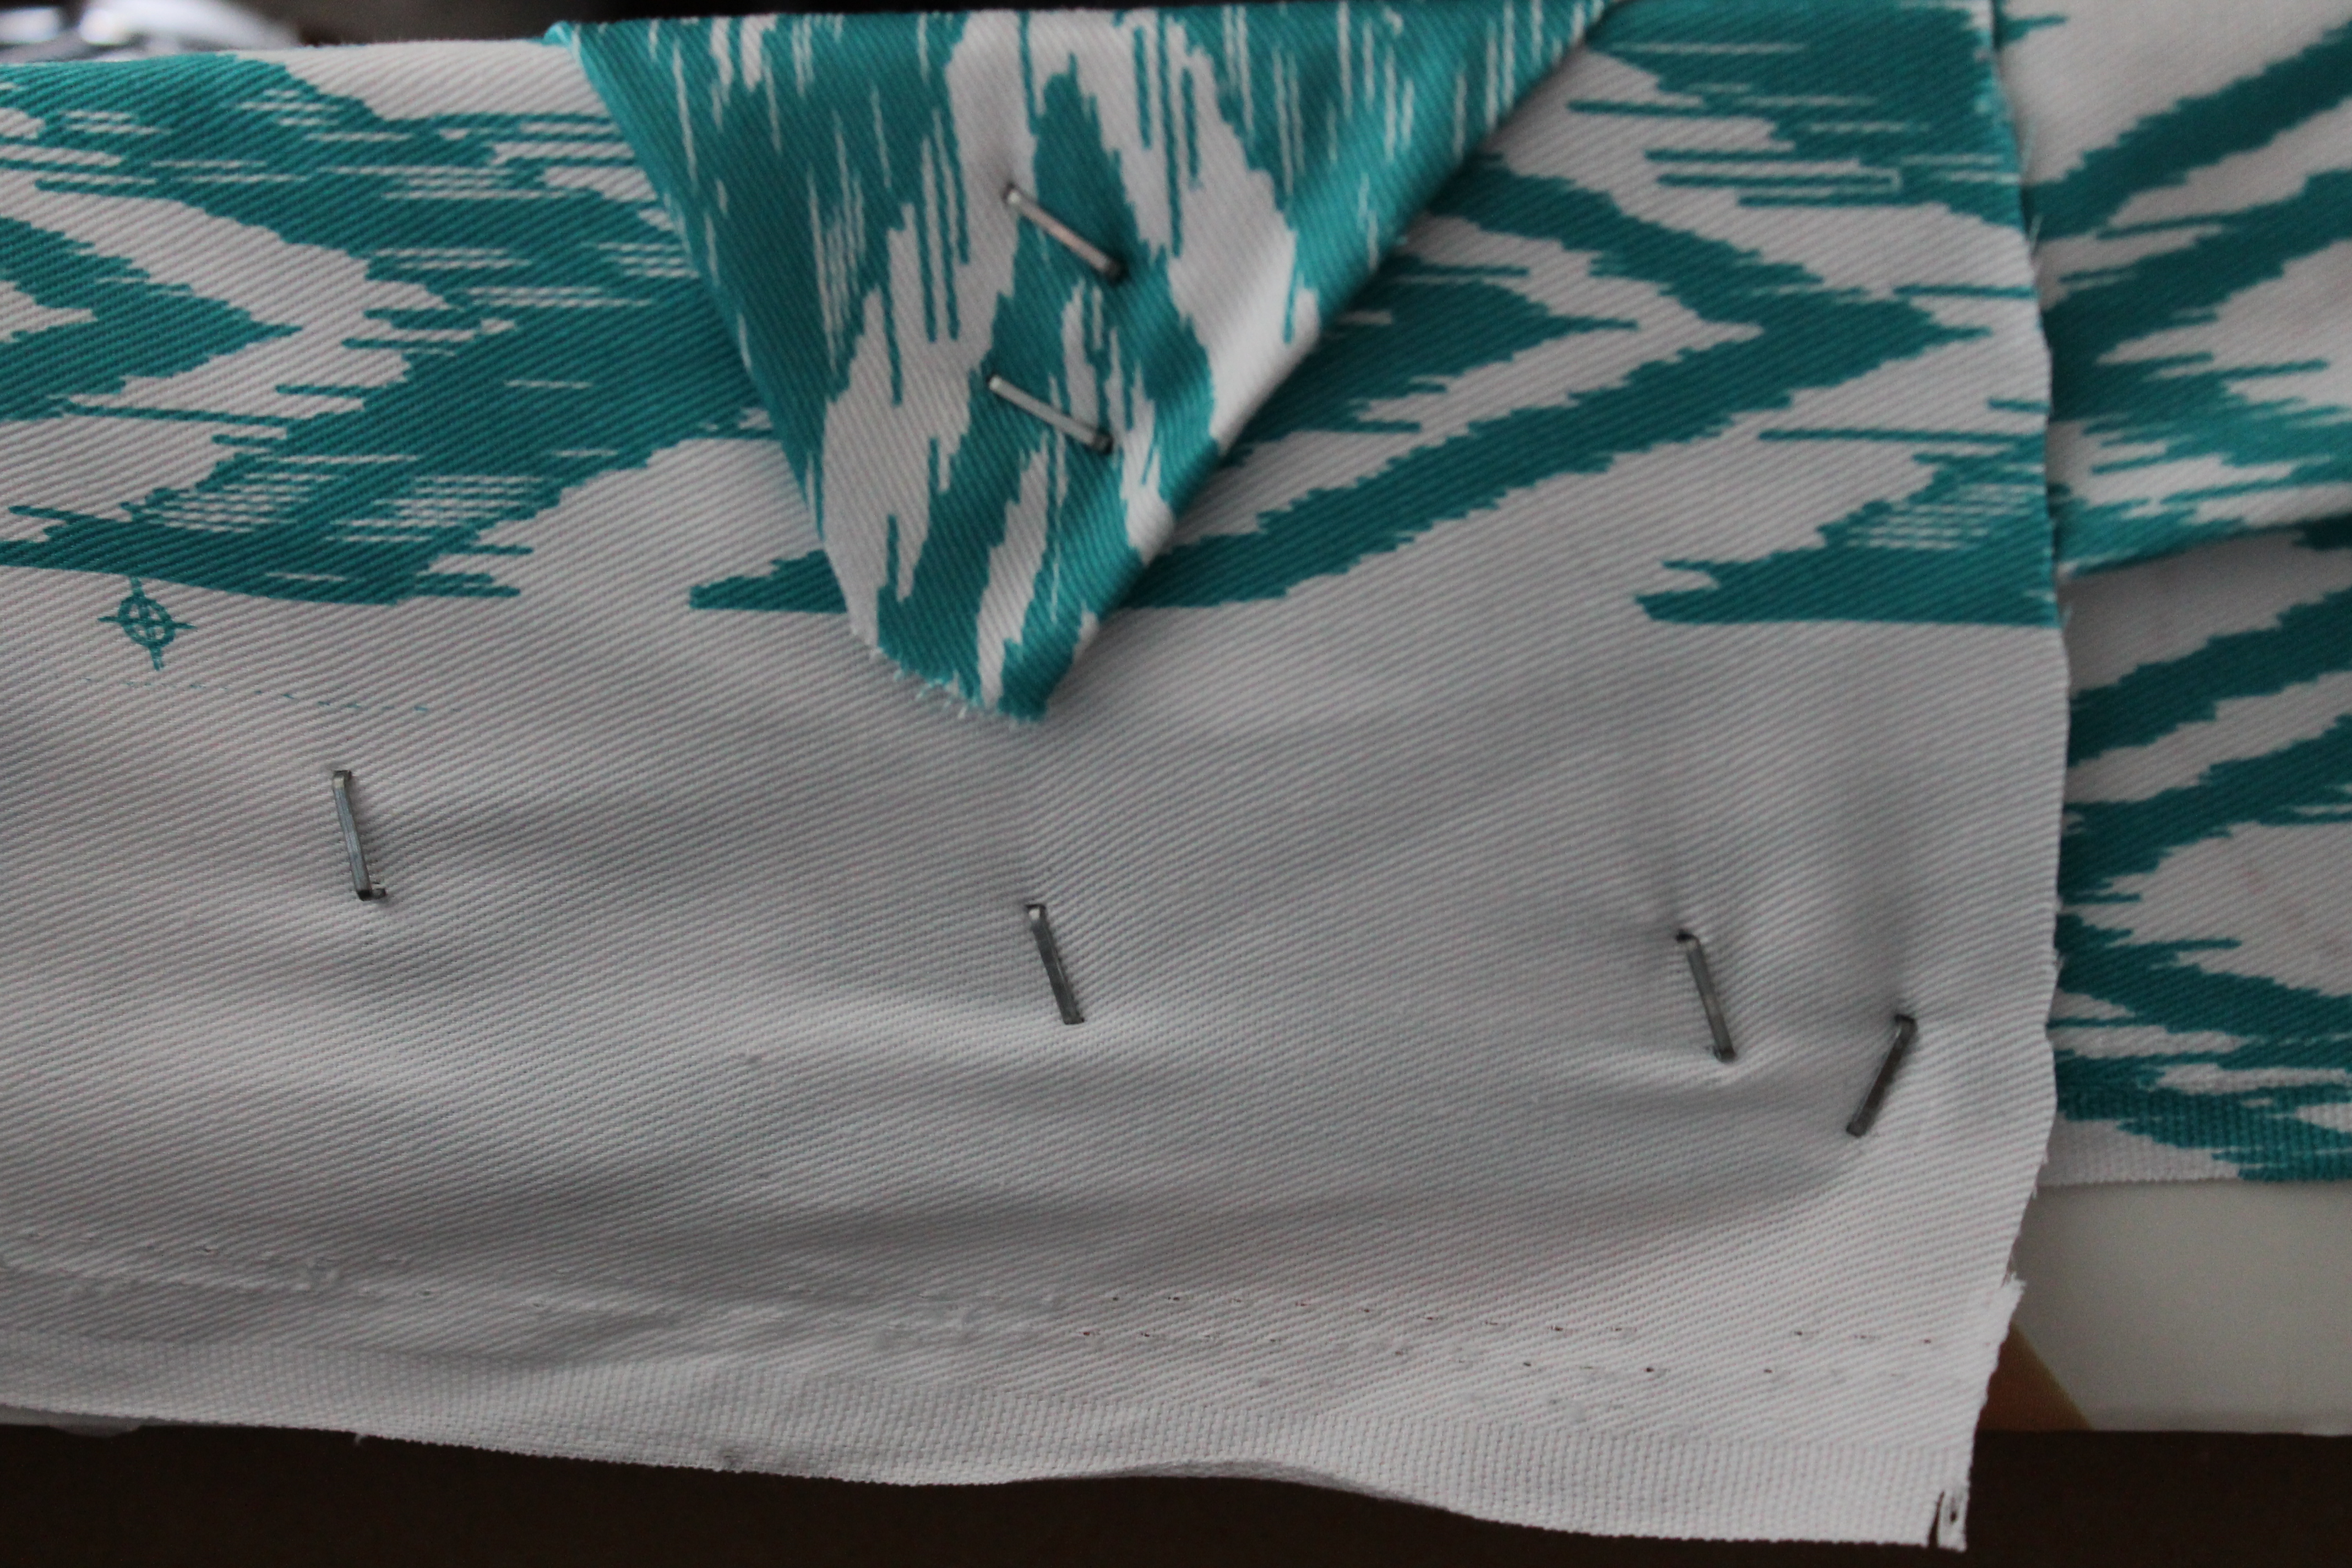
Now if you ask me, you can never have enough staples. I’ll admit, now that I’m looking at these photos, I may have gotten a little trigger happy- but hey, at least it’s secure! Make sure when stapling the fabric to the inside of your box that you’re consistently pulling your fabric tight to avoid and ripples in the fabric!
Step 7: Step Back & Admire! – Fill with whatever your little heart desires!


So That’s It! In less than 15 minutes you can have some incredibly cute storage solutions and you didn’t have to spend a penny! (Unless you of course opted to buy new fabric. . . .which in that case, I commend you for making the extra effort and hopefully you didn’t spend too much!!) This is one of those projects that just makes me smile. I always enjoy getting something out of nothing! – To think these boxes were almost trash!
Have any of you ever created something cute out of a lot of nothing just lying around? I love to hear about new DIY’s! Also, for a fun Thursday Link-Up, make sure you check out Lindsay over at Artsy Fartsy Mama for her crafty and creative Artsy Corner Thursdays! Share your current projects and meet new people!

Cheers!


Ooooh! Nice! I used scrap paper once to cover boxes for storage but it looked horrible. I never thought of using fabric! I will have to redo the boxes now.
LikeLike
Yeah I actually saw scrapbook on Pinterest once and attempted it too, it turned out horrible. I also did a post where you cover canvas with fabric to decorate as well – another project that I initially saw scrapbook and tried – #PinterestFAIL shall we say? I’m over scrapbook paper. . . .I think I’ll stick with the fabric, it ends up pretty cute and super sturdy! 🙂
Keep me posted if you decide to redo them, would love to see pics!
LikeLike