DIY :{Simple}: LeMoNaDe Stand! *

Lemonade Stand

So with summer in the works and a restless toddler on my hands, I recently took to Pinterest for some good ol’ fashioned inspiration! You see, last year I came across an event that was truly touching, Alex’s Lemonade Stand Foundation‘s National Lemonade Days – An annual event that raises money for all forms of childhood cancer through the act of selling lemonade. Unfortunately, I had come across the event about two weeks too late, but I vowed to remember it this time around. Sure enough, as spring sprung, I took to the pins to search out the perfect lemonade stand just in time for the 10th anniversary of ALSF, and we found it!

DIY Lemonade Stand

Compliments of Vanessa over at See Vanessa Craft, we were provided the perfect plans to construct a quick, affordable and sturdy little Lemonade Stand! After reviewing the plans that Vanessa provided, I decided to make a few small adjustments of my own. Nothing drastic but just a few differences to note.

Below are the supplies and directions for the Lemonade Stand my daughter and I put together:

Supplies


(2) Unfinished Wood Crates – Found At Michaels (12.5 x 18 x 9.75 Inches)

  • $13.99 per crate – 2 x 50% off Coupons – $13.92 

(2)  8 Foot Boards (1 1/2 x 3/4 Inches Thick) CUT TO:

(2) 48 inch Long Boards

(6) 16 inch Support Boards

  • $2.98 per board-  $5.96

(1) 16 x 36 Inch Pine Board  (3/4 Inches Thick) CUT TO:

(1) 27 x 9 Inches

(1) 27 x 8 Inches

Left Over Wood: 16 x 9 Inches – Would Work Great For A Menu Sign!

  • $6.90

 – Nails & Hammer – A Nail Gun If You Have One (This Really Helped To Speed Up Our Process!)

  • Free- Already Owned

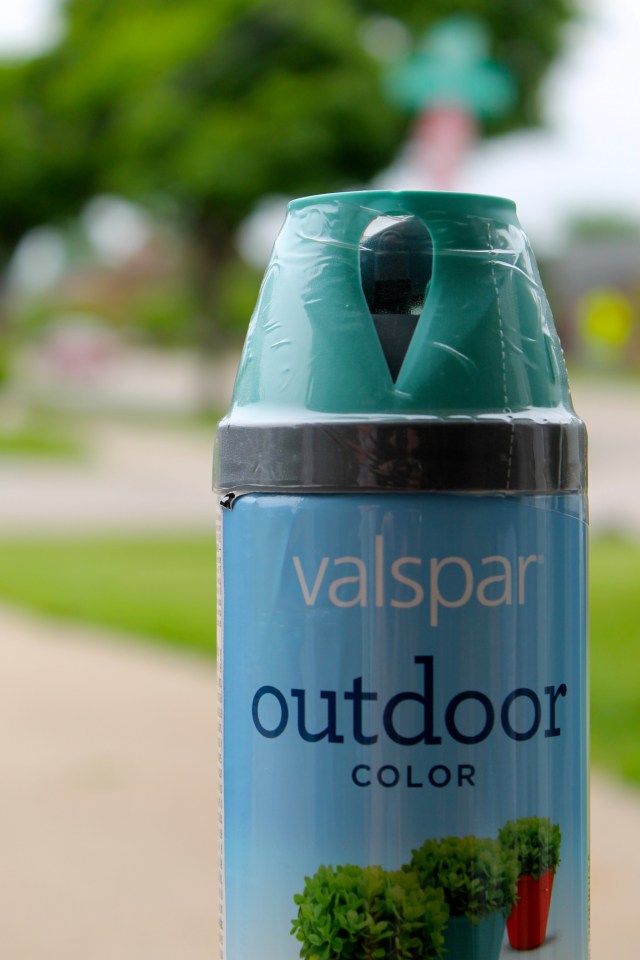
(2) Cans Of Valspar Outdoor Spray Paint – Color Optional – I used “Koi Pond”.

  • $4.98 per can – $9.96

(1) 4×6 Inch Photo Frame (Of Your Choice)

  • $1.00 

(1) Lemonade Print – 4×6 Inches

Additional Paint, Paper Banner & Stencil Supplies:

  • $2.00 – Miscellaneous Acrylic Paints / Stencil – FREE – Created With Cricut / Paper – FREE.

TOTAL:  $39.74

With a budget you can work with, this stand is easy on the wallet. To believe the compliments I received on such a frugal project! I was incredibly thankful for Vanessa’s plans. Now, on to the directions!

Directions .jpg


Step 1: Buy your materials and if possible (I Highly Recommend This), have one of the employees at your local hardware store cut the wood for you to size! I’m personally no good with our table saw and I’m pretty sure that’s not the best option for this project anyhow, I opted for the “please help me” look and it worked. You can too!

Step 2: Lay out all your supplies to get organized. This works best for me so that I don’t go losing things. It’s also helpful when your toddler is feeling in a helpful mood. . .

Directions 1

IMG_3912

IMG_3917 IMG_3918

Step 3: Nail the two crates together by nailing (4) of your (6) 16 Inch support boards in the back 4 corners. (This is where my directions differ slightly from Vanessa’s: I decided to move the support boards to the back of our crates as I wanted to have the large board and 48″ boards on the backside of the stand itself.) Make sure to put the boards in BEFORE you push the crates together to nail. I made the small error the first time around of nailing just the support board to the crate and the nails came out the other side (see below). #Woops. Thankfully I had additional wood to cover these open nails! Next, nail the last two 16 Inch support beams in the front corners for additional support.

IMG_3924

Step 4: Nail your 48 Inch beams onto the outside of your stand, lining them up parallel to the inner 16″ boards. It should look something like this:

IMG_3934

 Step 5: Nail Your 27 x 9 Inch board at the top of the 48″ boards – see the photo below for reference.

IMG_3930
IMG_3927

Step 6: Nail the 27 x 8 Inch Board to the top of the stand, I let the board hang over the edge to create more counter space, also creating multiple levels. (You may or may not prefer this and can cut to your preference).

IMG_3928

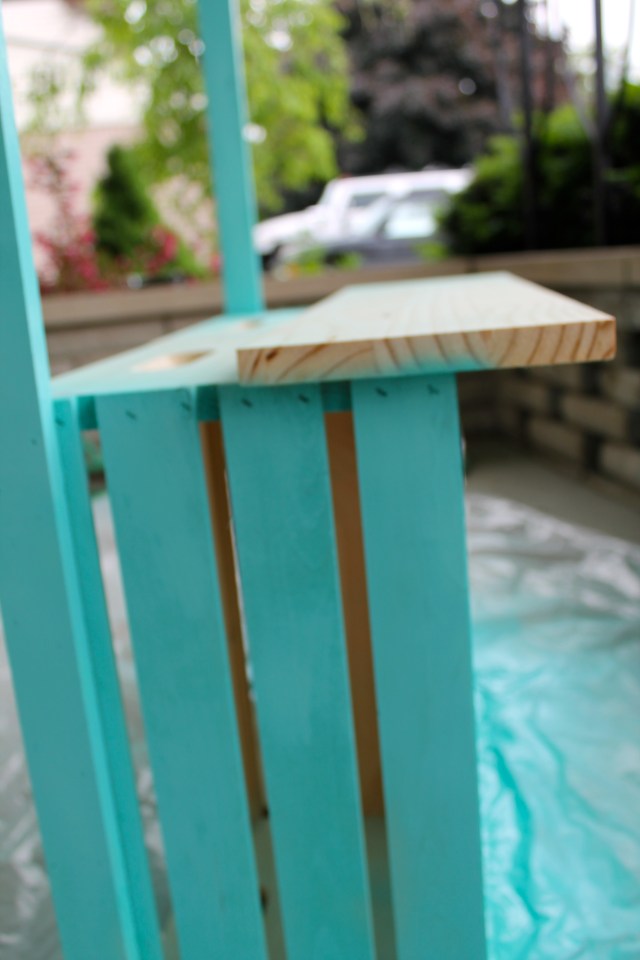
Step 7: Paint Your Stand! I used about 1.5 cans of the Valspar Outdoor Spray Paint. Luckily we have extra for touch ups! Make sure to let dry overnight before decorating!

IMG_3935 IMG_3936

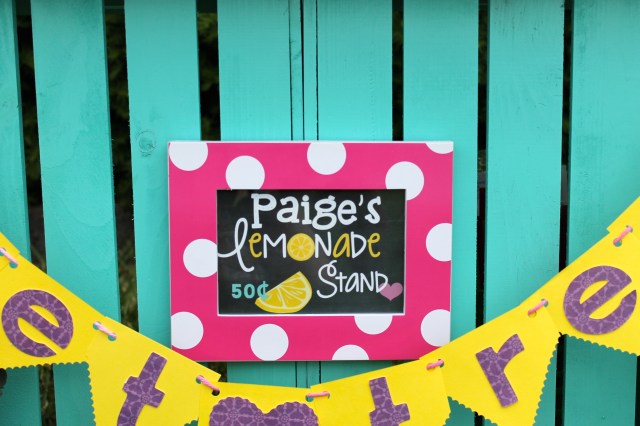
 Step 8:  Print a lemonade sign and hang in your 4×6 frame. You may wish to paint your frame to match before – allow time to dry if you wish to do so! Nail a single nail into the front and center of your stand. Hang your frame!

IMG_3940

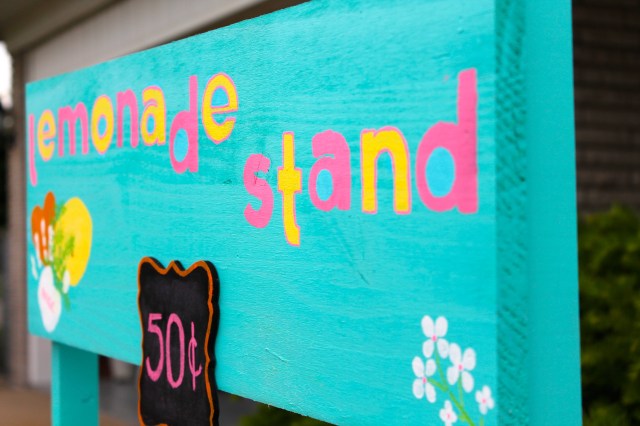
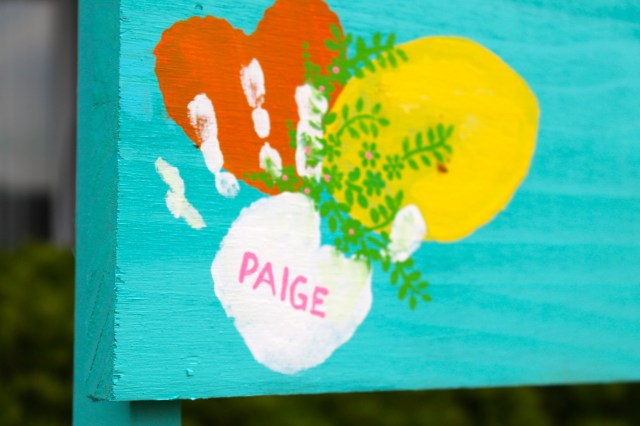
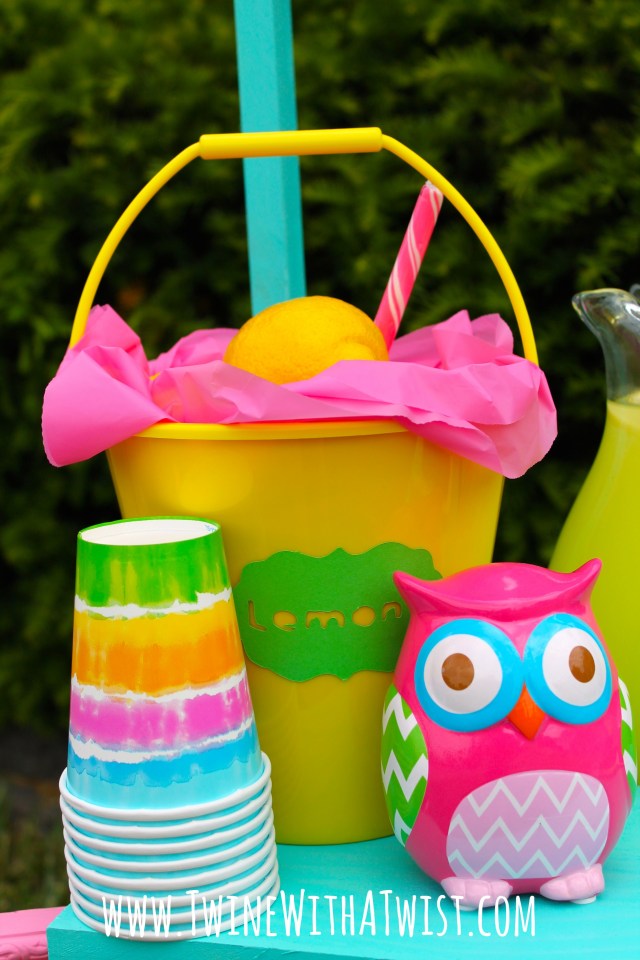
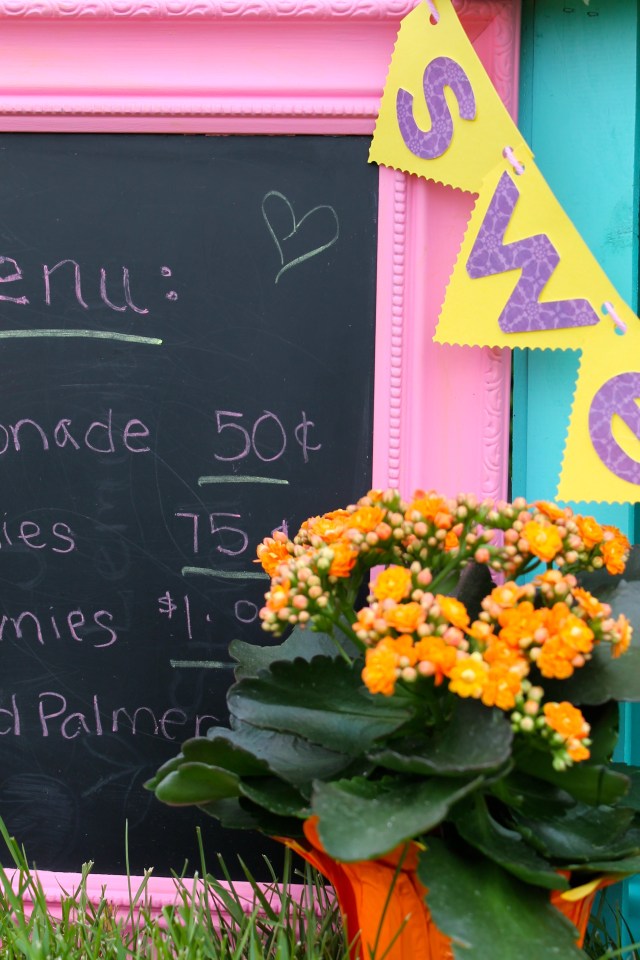
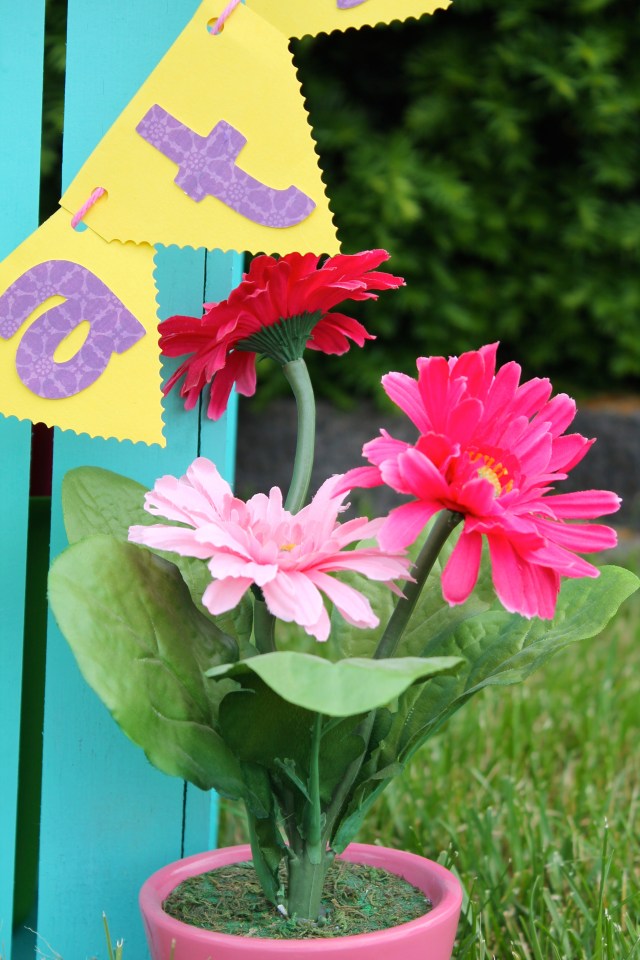
 Step 9: Decorate Your Booth! This is the fun part. Get creative and match to your personal taste! I wanted to utilize bright colors so we decided on a variety of fun and summery shades! Our banner was created with the Cricut along with the stencil I designed to paint “Lemonade Stand” on the board. We finished it off with some bright decor, a small chalkboard sign, my daughter’s handprint and a few potted flowers. We even grabbed Paige’s favorite Chalkboard frame to display a daily menu!

Lemo 14.jpg

IMG_3950 IMG_3948Lemo 9.jpgIMG_3942 IMG_3941

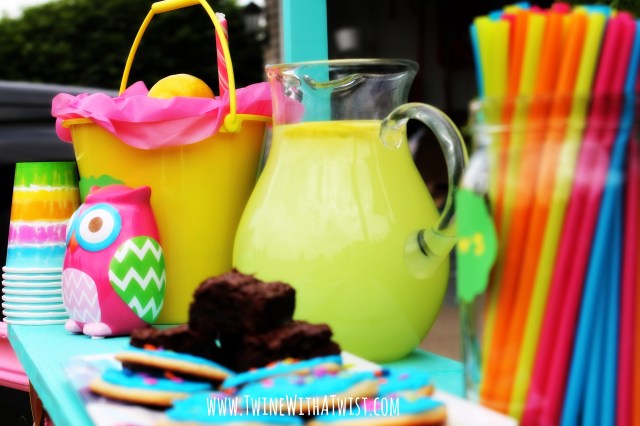
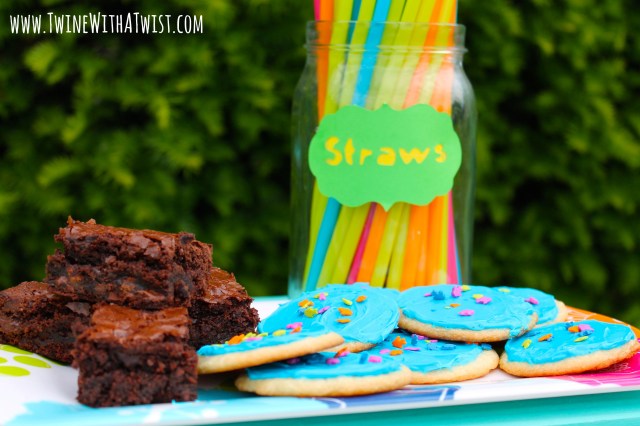
Step 10: Make a pitcher of lemonade, bake a few treats, and hit the streets! Your new Lemonade Stand is ready for use!

results .jpg

Lemo 1.jpg Lemo 2.jpg Lemo 3.jpg Lemo 4.jpg Lemo 5.jpg Lemo 6.jpg Lemo 7.jpg Lemo 8.jpg Lemo 10.jpg Lemonade Stand Lemo 12.jpg Lemonade Stand

For more information regarding  ALHS or how our fundraising efforts turned out, please read more about it HERE and TODAY, this same post is being featured with Chelsee so don’t forget to stop on by Southern Beauty Guide for a few good reads {as always} by Chelsee!

Screen Shot 2014-06-10 at 10.53.45 PM

Cheers!

Screen Shot 2014-06-10 at 10.51.29 PM


National Lemonade Days – #OneCupAtATime *

So while I typically am horrible about re-capping my weekends, I couldn’t wait to share with everyone the eventful fun that took place at the Jazz Castle these past few days!

lemonade.png

National Lemonade Day’s 10th Anniversary took place – an annual event inspired by Alex’s Lemonade Stand Foundation. This foundation began 10 years ago when Alex, at the age of four, opened her first Lemonade stand to help find a cure for all childhood cancers, including her own. Since then, over 20,000 Alex’s Lemonade Stands have popped up around the country and National Lemonade Days have helped to support – in unity – Alex’s dream of finding a cure. With each and every year becoming bigger and better than the last, what once started in Alex’s front yard has spread across a nation and now annually raises over 1 Million Dollars in support of funding research for all forms of childhood cancer! This year the event – since it began, has now surpassed 80 Million Dollars in funding. . . . Incredible!

ld_logo

As a young girl, I myself helped in efforts to raise money for a local girl with Neuroblastoma, one of the more common forms of childhood cancer. Amber was her name and she attended my elementary school. At the time, I was 11 years old. I worked for the local paper and wrote a weekly column under the “Teen Writers” section. I thought I could help by dedicating an article to a fundraiser that my family and friends had thought up and much to our surprise the local support was astounding! We raised over $27,000 in only a few short months, raffled a brand new truck and even attracted the attention of our local news and radio. Amber and her family, as my own, were overwhelmed with the outpouring of affection and felt incredibly blessed.

While Amber gracefully passed a short while after at the age of 6, she left my family and our community with heavy hearts, but also with hope. Amber’s funeral was absolutely beautiful and the hundreds of people that attended let go of so many balloons skyward that you swore the sky was left colored for days. It was an incredibly tough experience to go through at a young age and while I can only imagine the hurt and pain her parents endured (as I myself am now a mother), It’s always left a huge impact on me personally. Childhood cancer isn’t fair. It’s unbearable and it’s unimaginable. While I’ve spent a better part of my life dedicating my time to a variety of fundraisers, charities and reputable causes; childhood cancer is still the most meaningful to me. While I know that a cure isn’t quite yet in our reach, I’m happy to take part in what little I can do.

Screen Shot 2014-06-09 at 11.21.33 AMWith all that being said, it brings me to this weekend and the unbelievable experience I got to share and pass along to my daughter. We began last week by building her lemonade stand. With the help of grandma (my mom) we spent a wonderful afternoon buying supplies, constructing and painting what was soon to be her very own Lemonade Stand! (A blog post will be coming later this week with a “DIY – How To Build Your Own Lemonade Stand. – Stay tuned!) Once finished, we snapped some photos and put it aside for what was soon to be an exciting weekend of instilling in my daughter the value of giving back. *We even dedicated our donation page to Amber.

lemonade 5.jpg

Saturday afternoon, we busted out the supplies, baked some cookies and stirred up some lemons for what was sure to be a fun-filled weekend. We spent the better part of Saturday and Sunday afternoon taking to the streets while also sharing our event with our friends and family in the social  stratosphere. We had a goal to raise $150 in this little amount of time. . . . .Overall it was an incredibly successful endeavor!

Lemonade #1.jpg

Lemonade 2.jpg

Lemonade 3.jpg

Lemonade 4.jpg

So all in all we learned some incredibly valuable lessons, laughed a lot, and had some overly generous customers! Paige even reached her goal of $150 and then some. . . . All together she helped to fund over 3 hours of research dedicated to finding a cure for Neuroblastoma! It was an excellent experience and I’m such a proud mommy!

Also: If you feel so inclined to make a donation, Paige’s Online Stand will be open until June 15th and you can do so HERE! Any little  amount helps, #OneCupAtATime. Oh, and we thank you in advance! We were incredibly blessed to take part in something so small, yet so worthwhile and can’t wait to participate again next year! 

Fundraiser .jpg

If you would like to learn more about ALSF – Alex’s Lemonade Stand Foundation or how to get involved, please visit: www.alexslemonade.org! They host hundreds of events annually and make sure that you take part in next year’s Annual Lemonade Days to #Mix.Pour.FindACure.

For other news related to ALSF check out these great stories:

  • Alex’s mom, Liz Scott and hero Bridget Smith visited “The Today Show” to kick off the weekend. Watch the video.
  • Surprise! Nobody knew that Jon Bon Jovi was going to visit hero Mario Carpino’s stand on Saturday, June 7. See the photos.
  • “NBC Nightly News” ran a story wrapping up the weekend on Sunday, June 8. Watch the video.


Cheers,

Screen Shot 2014-02-14 at 4.35.08 PM